Here's a project that I (Kari) recently completed. I have to thank Jenny Komenda from Little Green Notebook for the inspiration here. She has encouraged my love of Schumacher's Chiang Mai Dragon fabric AND her do-it-yourself projects always make me want to roll up my sleeves and try something new out in my own home. You really should check out her blog if you are at all into home design!
Okay, here's the project...
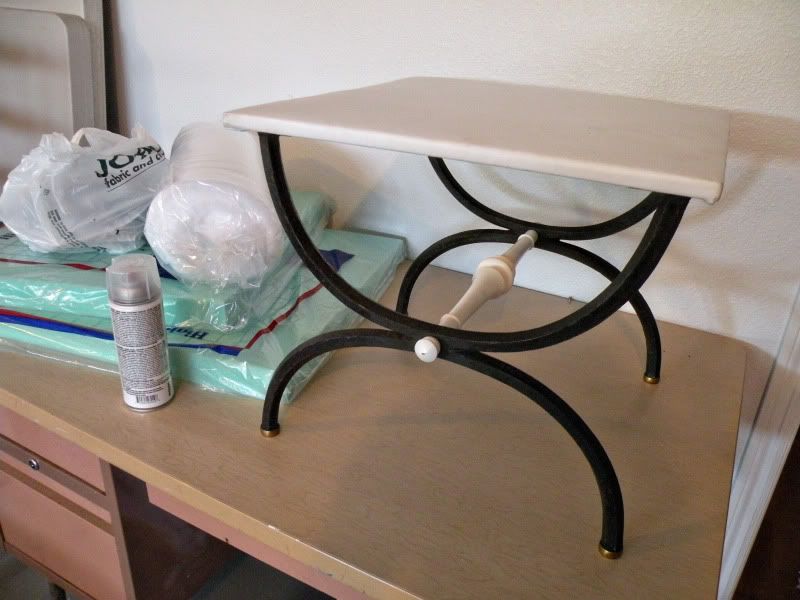
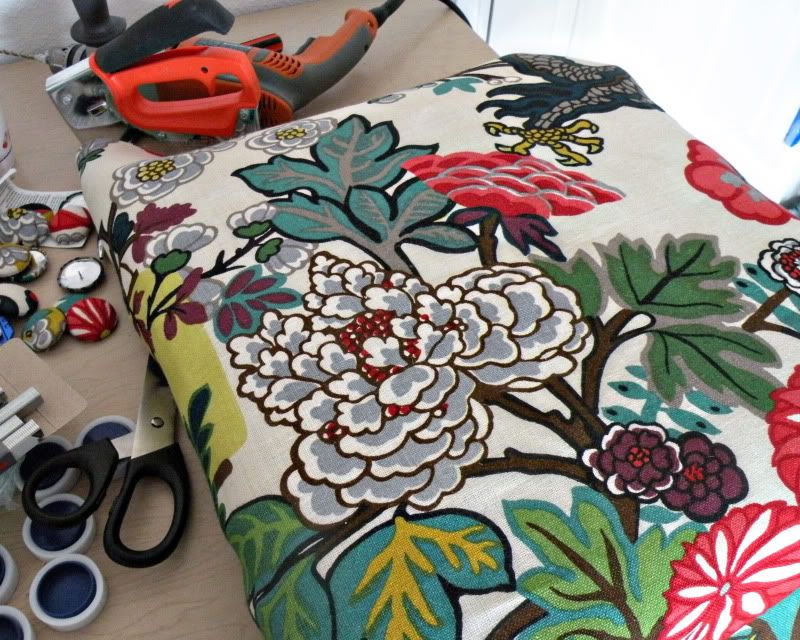
I found two of these little stools waaaaaaaay back, and I paid around $12 for the two of them. (Yes, that is a total steal----isn't the shape great?) I have had them in storage for about two years as I didn't have a spot for them and I was waiting for inspiration as to how to snazz them up a bit. The legs are heavy forged metal and the stretcher is white painted wood. The tops were covered in really gross white vinyl that I knew had to go! In this picture, you can also see some of the tools that I used---spray-on adhesive and upholstery foam, both from my local fabric store:

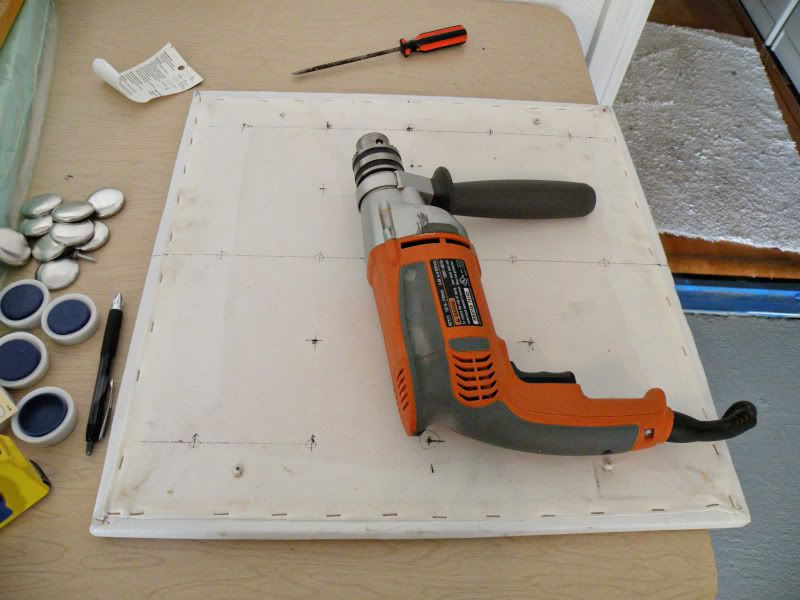
First, I removed the tops from the bases. Then, I got out the drill. I knew I wanted to do a little tufting since I was going to add a little cush to these stools. I used a measuring tape and a drill to add holes to where I wanted the buttons and tufting to go. I originally thought I would add more buttons to the stool, but you'll see in the finished project that I stopped at five----once I got started, I realized that I was trying to add too many. If I could go back and do this over, I would probably spread those five buttons out a bit. Oh well, live and learn. I'm still excited about the finished project!

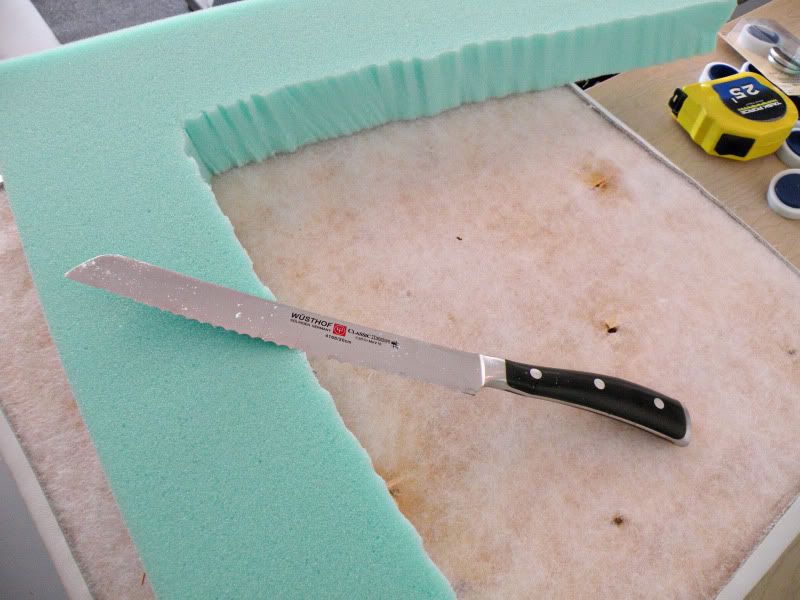
I cut the foam down to size using a serrated knife (electric carving knives work well, too, but I don't own one of those anymore) and attached it to the wood top using the spray adhesive.
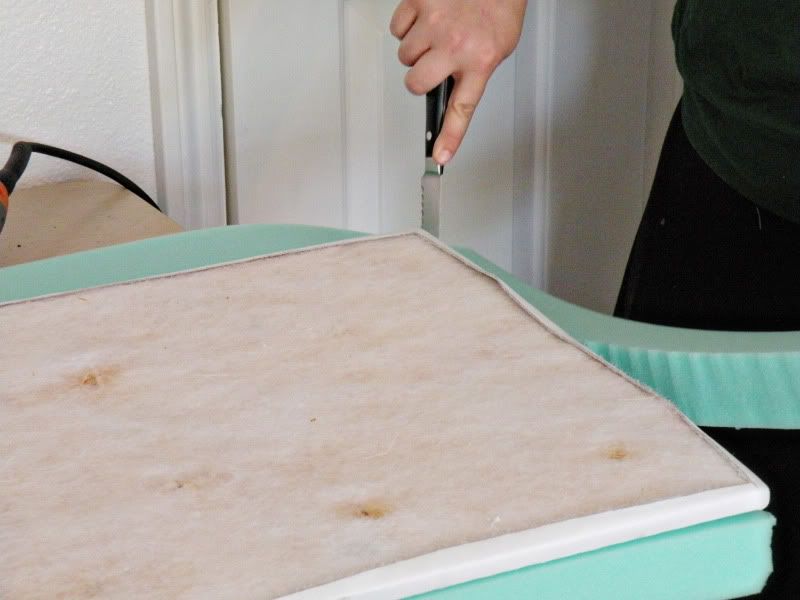

(After almost two years of marriage, my husband is finally used to the fact that things like really nice serrated knives get used for creative projects more than they get used to carve meat or slice bread...)

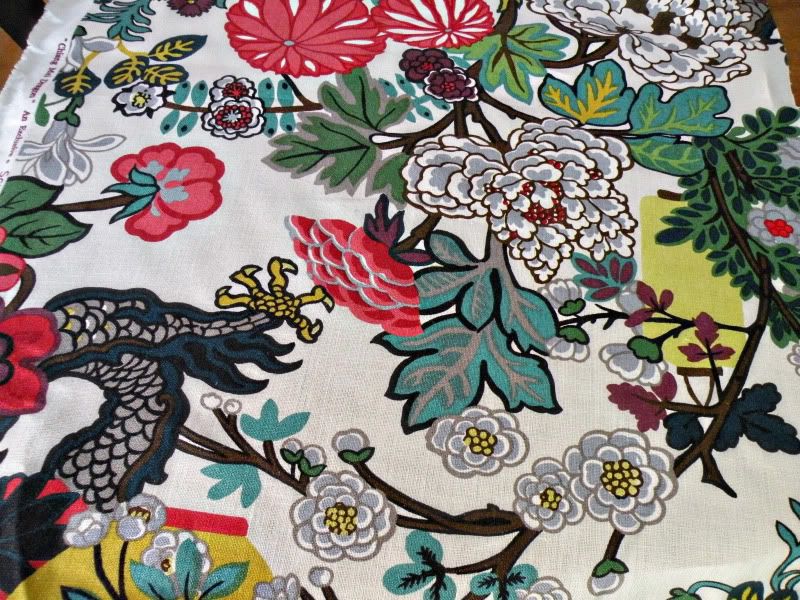
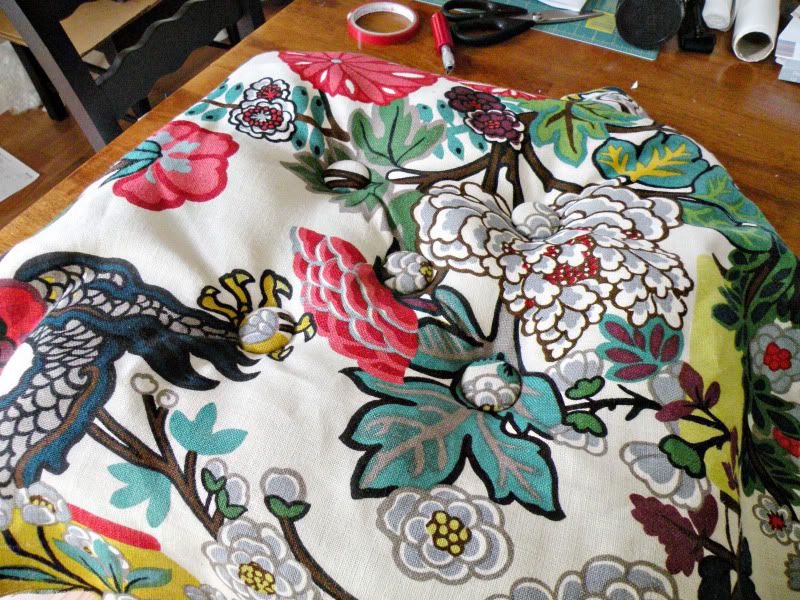
Here's a shot of the fabric I used. Schumacher Chiang Mai Dragon. So pretty! I have to admit that I don't love the dragon, but I am crazy about the fun floral on the rest of the fabric, so overall, I am smitten with the fabric. I was lucky to find enough fabric on ebay to do this project. I totally had to stalk ebay to find a piece of this fabric, but it was worth it because it would NOT have been in my budget otherwise!

Once the foam and a layer of batting was applied to the wood top, I wrapped the top in fabric but did not secure it entirely. I needed to add the tufting first!

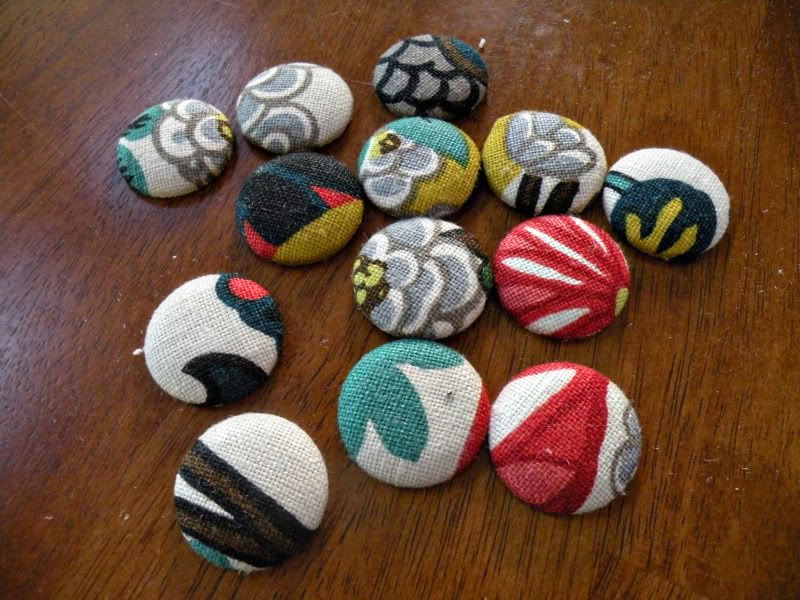
I made fabric-covered buttons using a kit purchased at my local craft store. Unfortunately, I did not have a whole lot of extra fabric for the buttons (since I bought a scavenged leftover on ebay!), so I was not able to match the buttons up to the design on the top perfectly. At first, this bothered me....but I am over it. I think the end product is still great. :)

Button #1:
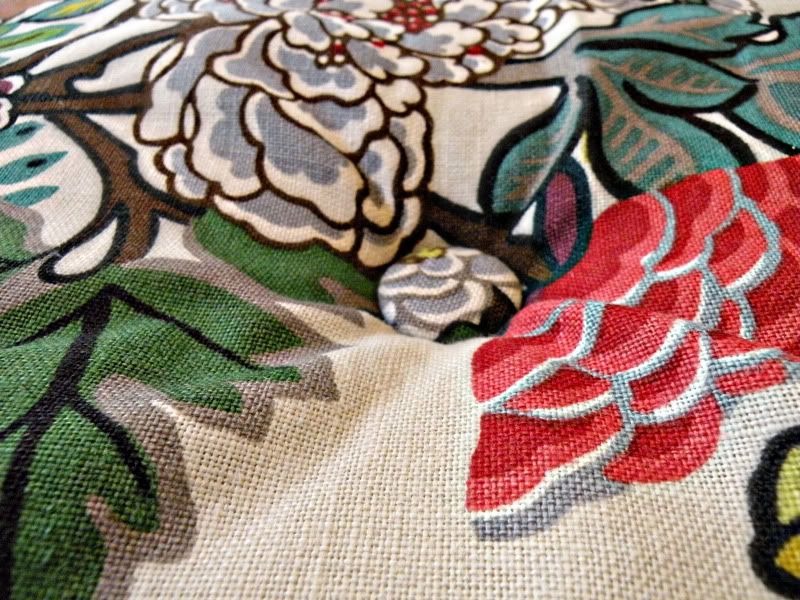

The five buttons are added. Now, the fabric just has to be tightened up and secured on the back using my trusty staple gun:

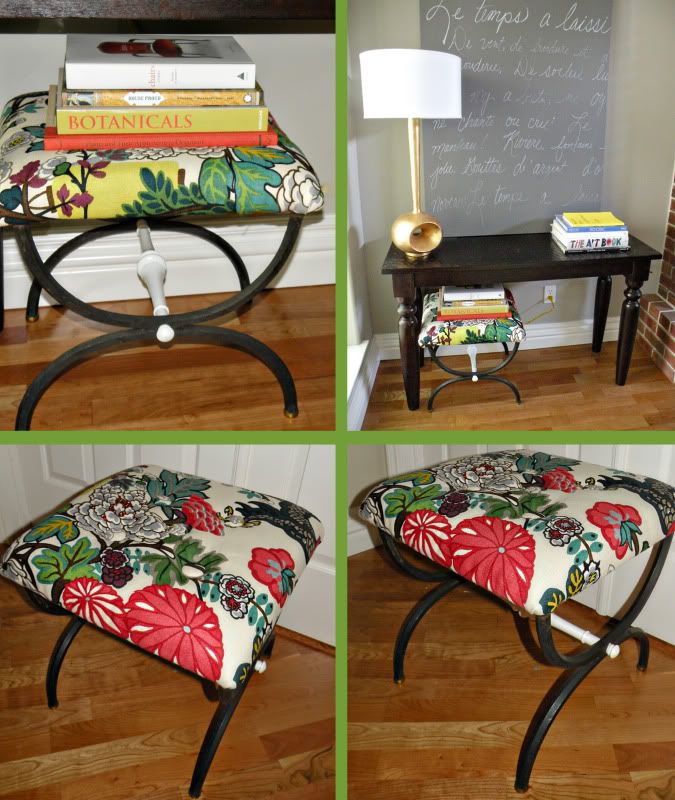
And, ta da! The finished project. Yes, this picture only shows one. I was so excited to take pictures, that I hadn't finished #2 yet. I'll add the other stool under that console table, in the bare spot. And then I'll keep working on this little vignette. (The canvas with the French love poem will go away and a fabulous panel of wallpaper and a mirror will be replacing it. Again, thanks to Jenny Komenda for the inspiration on this one!) I'll post more later as more changes are made. :)

What kinds of home projects are you working on? We'd love to see your thrift finds and how you've breathed fresh life into them! Send us pictures and a short description of what you've done, and we'll post them on the Babs Blog so you can inspire others, too!
No comments:
Post a Comment